When I told my husband that I was going to pour epoxy all over our countertops and when I was done it would look like marble or granite. He looked at me like I was insane! Although my countertops were neutral Formica, I really wanted a natural stone look. Unfortunately, we did not have the finances to splurge on natural stone countertops so here it goes! This is one of those projects where you can’t be timid and you have to just go for it!
When I went to the interwebs to search for how the heck I was going to pull this off I found the guardian angel of Epoxy, Stone Coat Countertops.
I could try and duplicate Mike’s amazing tutorials and the wealth of knowledge he and his wife offer on their YouTube Channel but there is just no point because the information they offer is phenomenal.
I am going to tell you guys how I did my countertops but if you want to learn from a pro as I did you should go to Stone Coat Countertops and check out their tutorials on YouTube. Here is my experience!
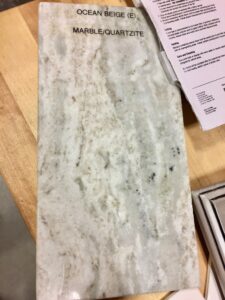
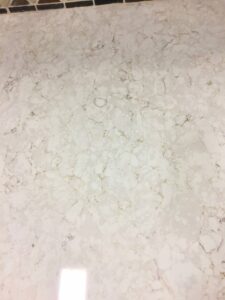
Before I started this project I went to several big box stores to look at their granite and natural stone selection to get inspired. I was going for something in the family of this!
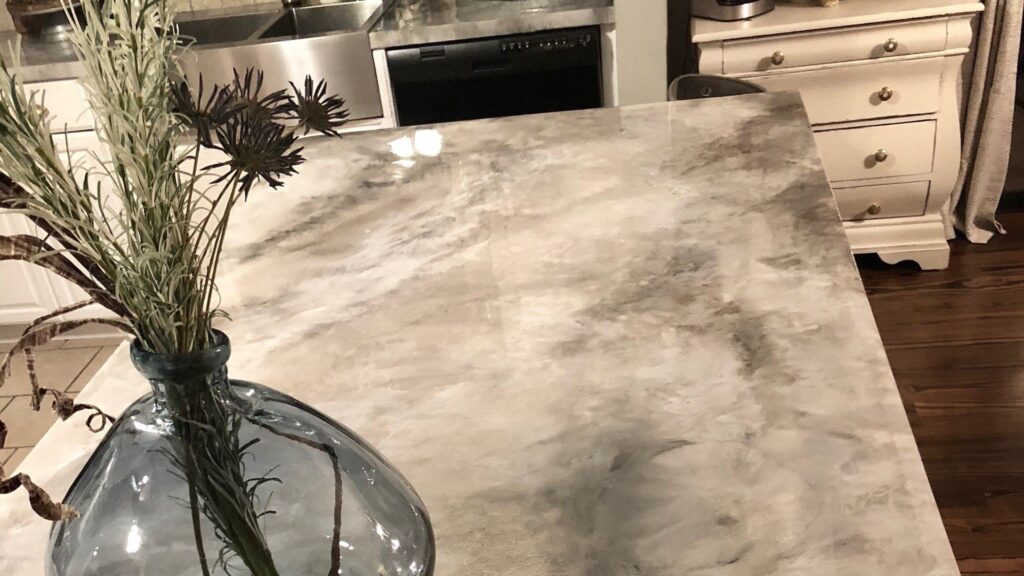
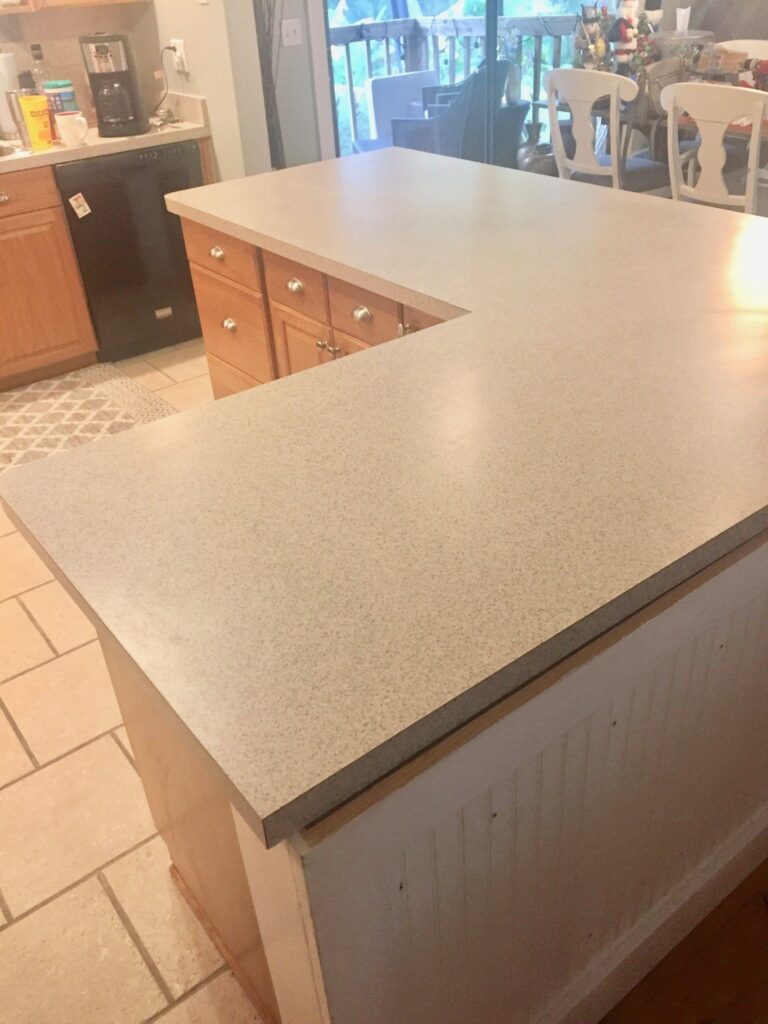
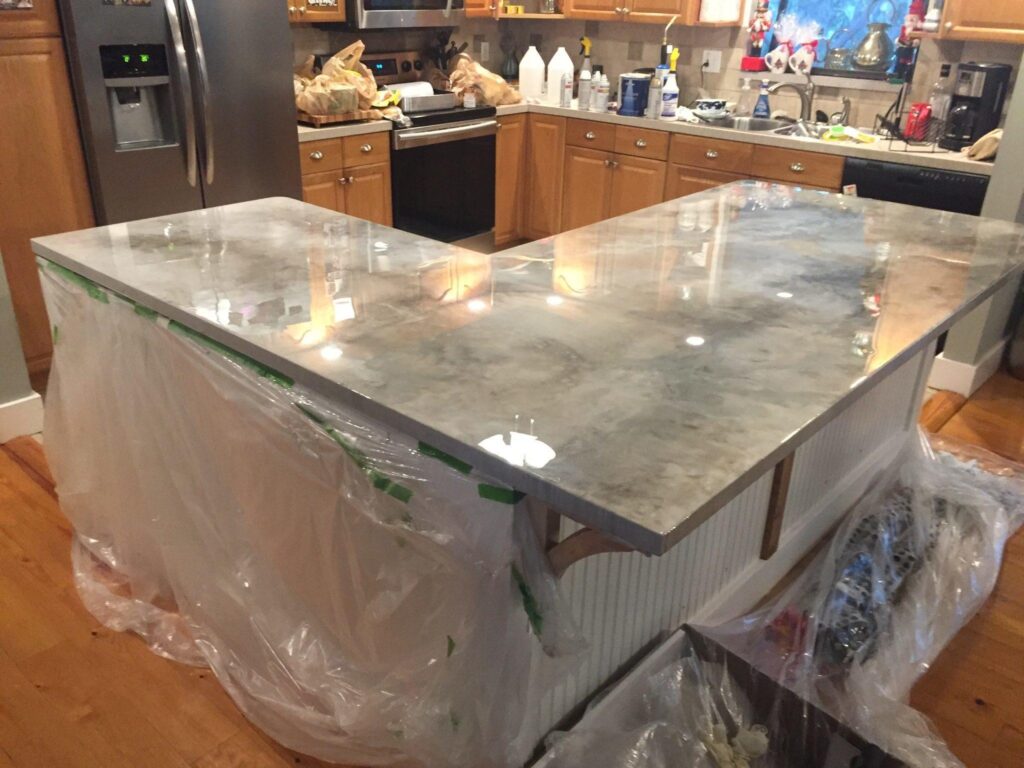
Here is my kitchen island! I decided to start with that because I wanted to add a farm sink before I did the rest of my countertops…but we will get to that later 😉 Also, be sure to check out how I installed my farm sink. I also took this opportunity to extend my island to add a bar area. You will see this addition in some of my pictures! Let me know in the comments if you would like to show you how I installed the extension on the island.
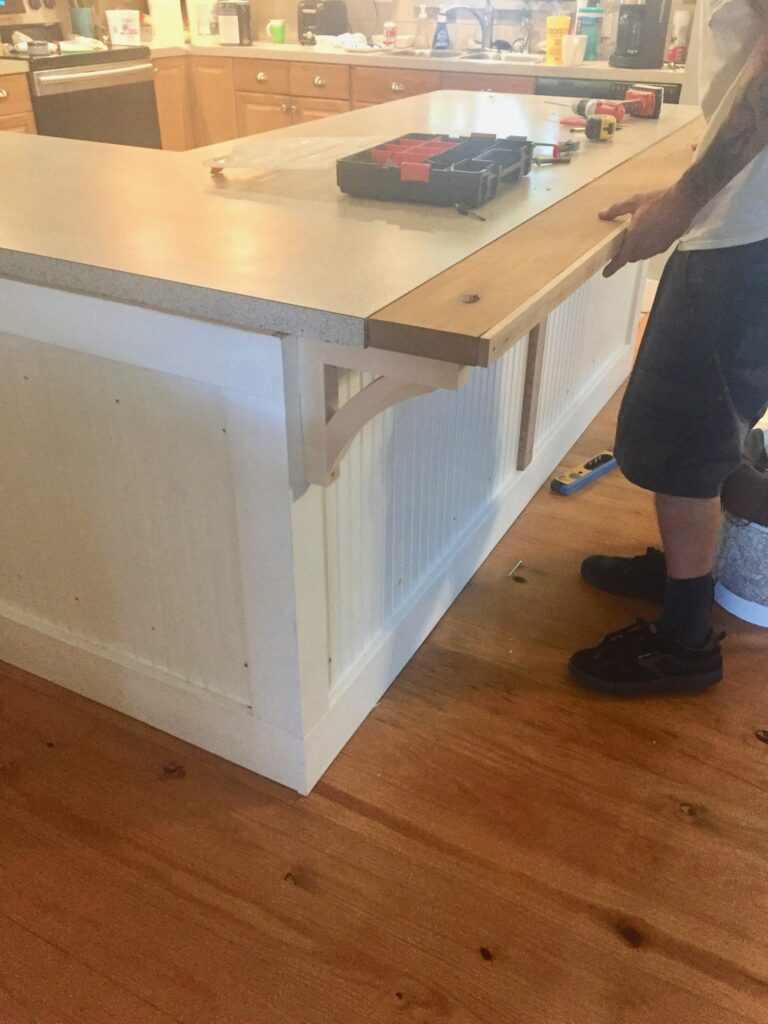
See what we did there… Used corbels as support and extended the countertop so we could add an eat-in area with counter height stools!

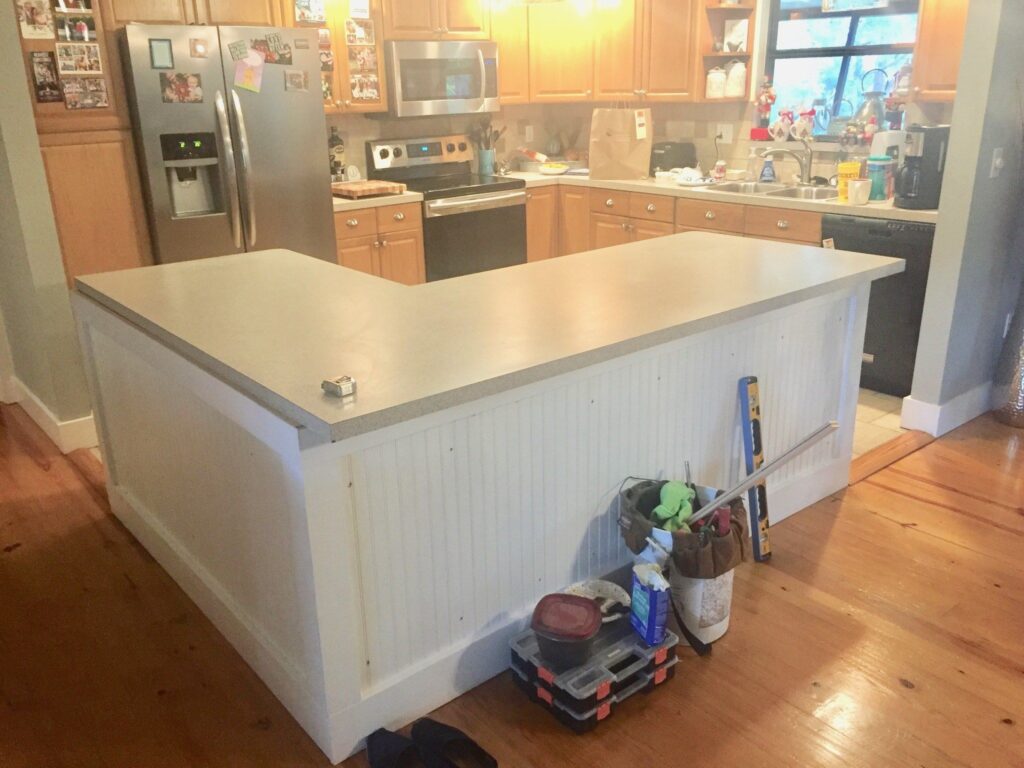
Our original Formica countertop color
Countertop Preparation for Granite/Formica/Laminate!
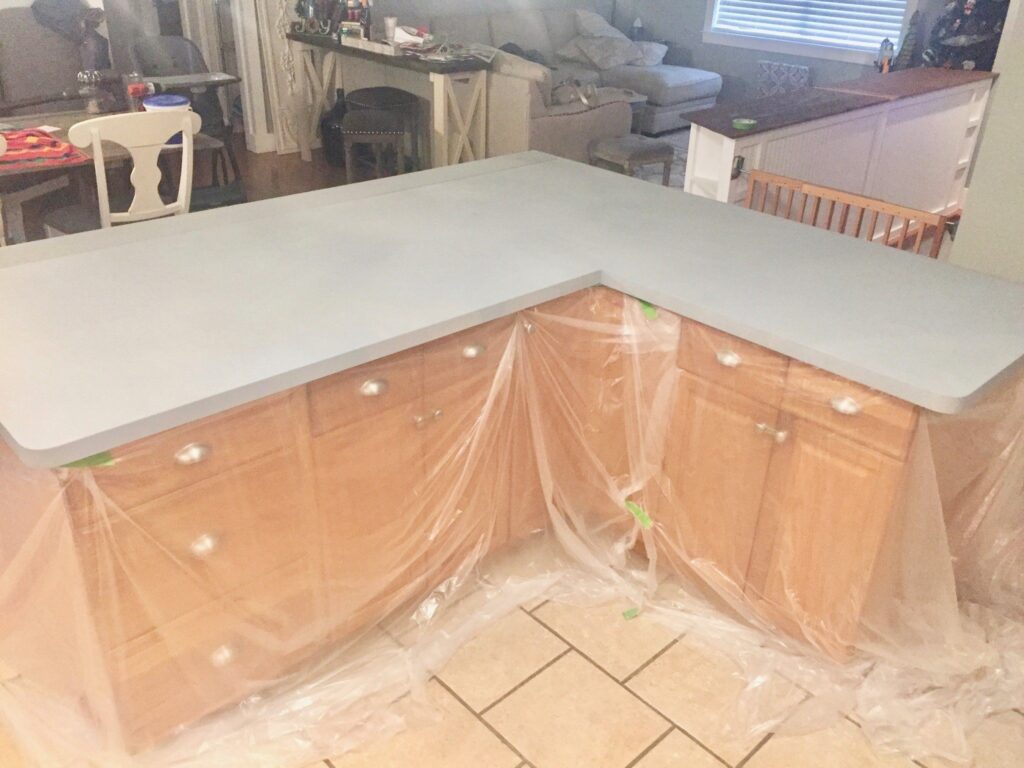
- Tape and Drape your kitchen cabinets with plastic for protection
- Sand your Countertops with an Orbital Sander and 80 grit sanding disc
- Clean Your Countertops with Pre-Paint Cleaner
- Apply Stone Coat Countertops Bonding Primer with a foam roller
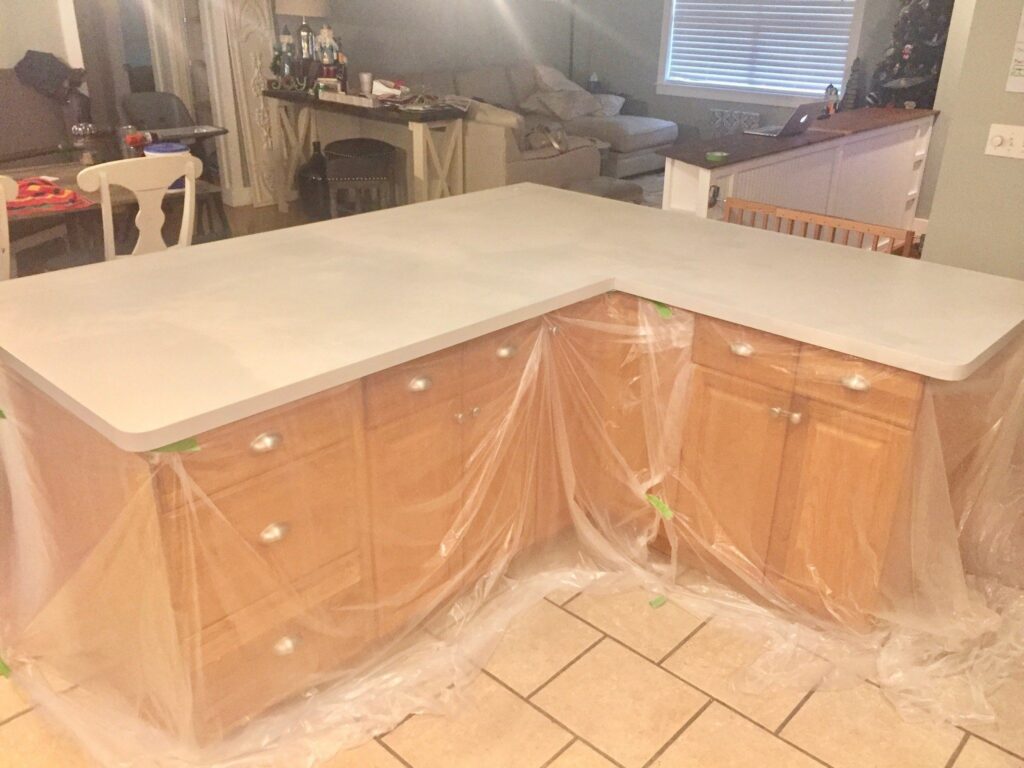
- Paint on a base coat. I used Mudpaint’s Faded Gray (Remember to use code frickinfab10 to save 10%)
- Use spray paint to “frost” texture to the base coat using all of your spray paint colors. Make sure to spray the edges as well! See my spray paint colors below.
- Mix equal parts of Part B and Part A of Stone Coat Countertops 2 Gallon Epoxy
- I used a 2.5-quart mixing container and a drill mixing attachment with my drill to mix the epoxy thoroughly.
- Pour the epoxy in the middle of your countertop. Use a square notch trowel to spread the epoxy on your countertops. Work it towards the edges and then let it drip off the edges onto the plastic.
- Use this paintbrush to “chop” the epoxy and move it around to cover the edges and corners of your countertop.
- Use Spray paint to add color to your countertops. Use your paintbrush to spread and blend. These are the colors I used on my countertops.
- Dark Gray
- White
- Light Gray
- Taupe
- Gold
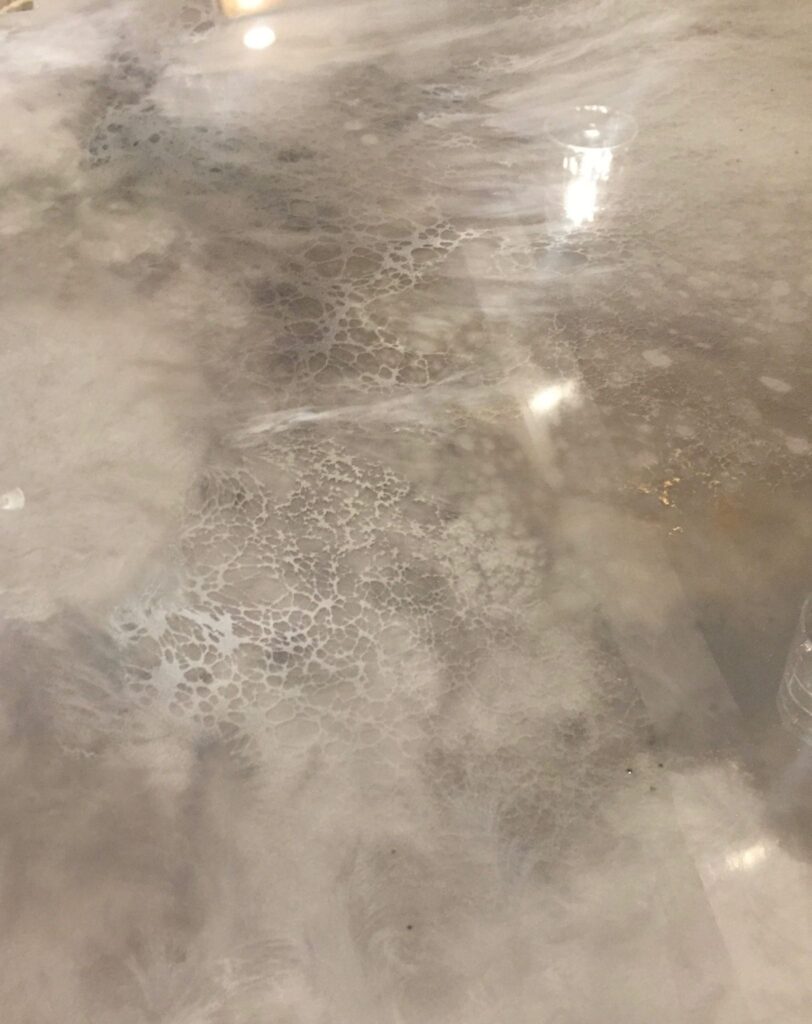
- In a spray bottle mix Isopropyl Alcohol and pearl metallic powder. Shake well.
- “Frost” a section with spray paint and spray it with the alcohol metallic spray! Watch the magic happen! If it’s too much you can chop it away or “frost” and “spray” more!
- Use the torch and propane to pop any bubbles and move the material and color for a more natural look. You can burn the epoxy so don’t get too close. WARNING: This step requires extra caution. Please be careful.
- WALK AWAY! It is the hardest part of the process…this is so much fun once you get going and stopping is the hardest part.
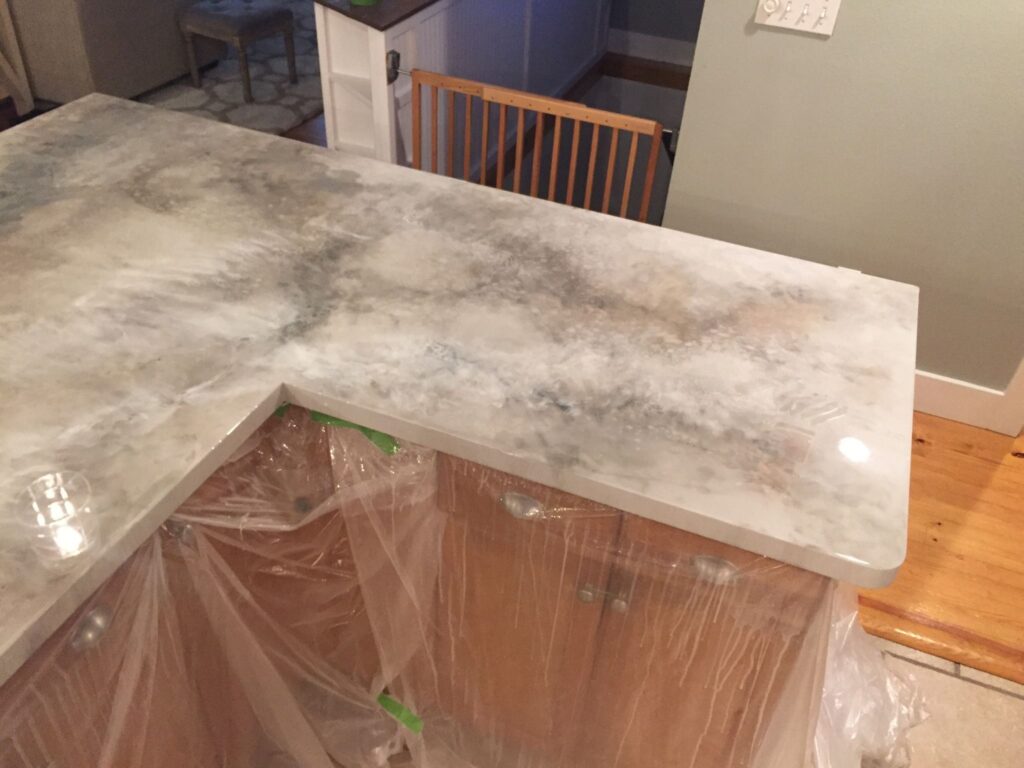
Notice the drips on the plastic…the epoxy just rolls right over the edges and onto the plastic for smooth edges!
This self-leveling epoxy allows you 45 minutes of work time and then you walk away and let it set. I have done it in the evening and then let it set up overnight. It will be smooth to the touch the next morning but not ready for use until 24 hours later.
After the epoxy has set up for 24 hours you can remove the tape and plastic and take your sander with 80 grit sanding disc and sand off all of the drips. You can also use an oscillating tool to do this. The countertops are ready for use in 48 hours and fully set in 7 days!
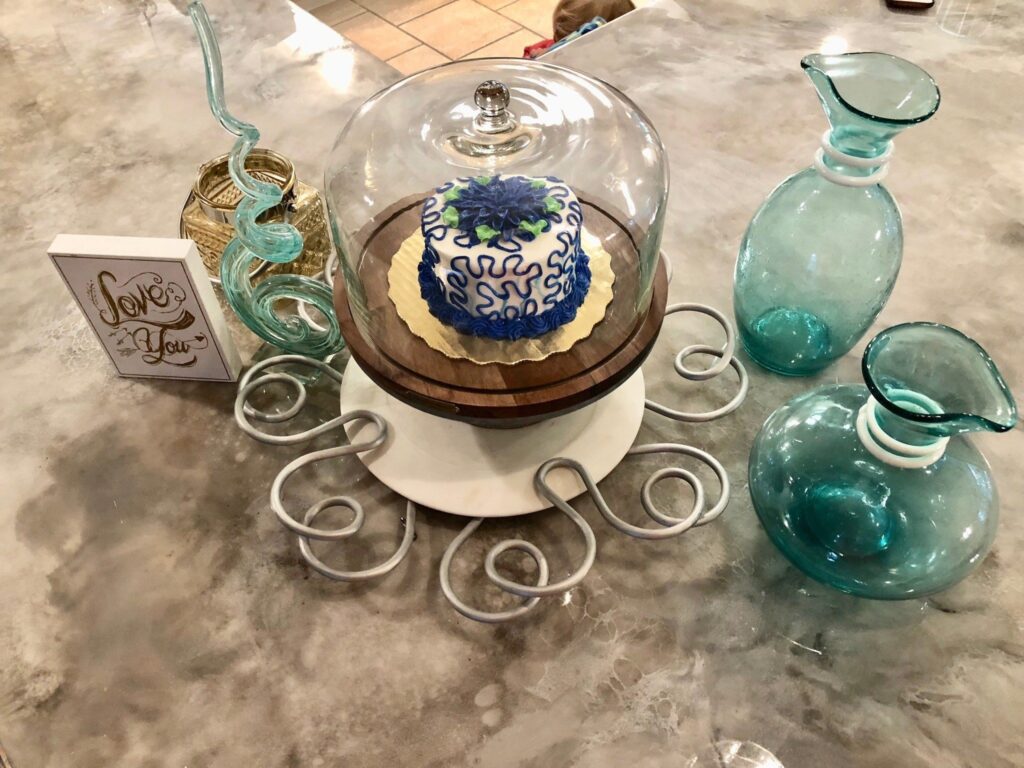
My favorite thing about the epoxy countertop is you can put hot pans on it and it is super durable. You CAN NOT use it as a cutting board but if you do ever get a scratch all you have to do is buff it with wax and car buffer and it is as good as new.
For My Kitchen I used:
- 2 2-gallon kits
- 3 bonding primers
- 1 quart of Mudpaint’s Faded Gray
- 1 bag of metallic powder
The best part about this product and process is that I can change my countertops 10 times and it will still cost less than buying new countertops!
Here are some pictures of the process on the rest of my counters after I prepped the cabinets for my farm sink!
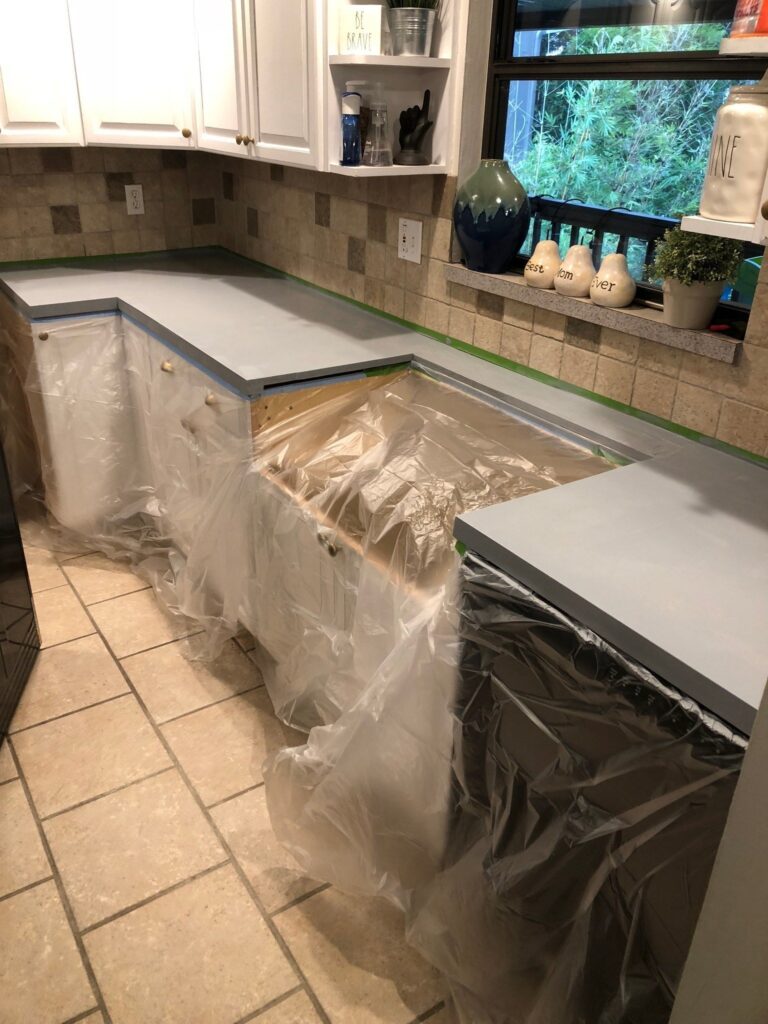
Bonding Primer Applied
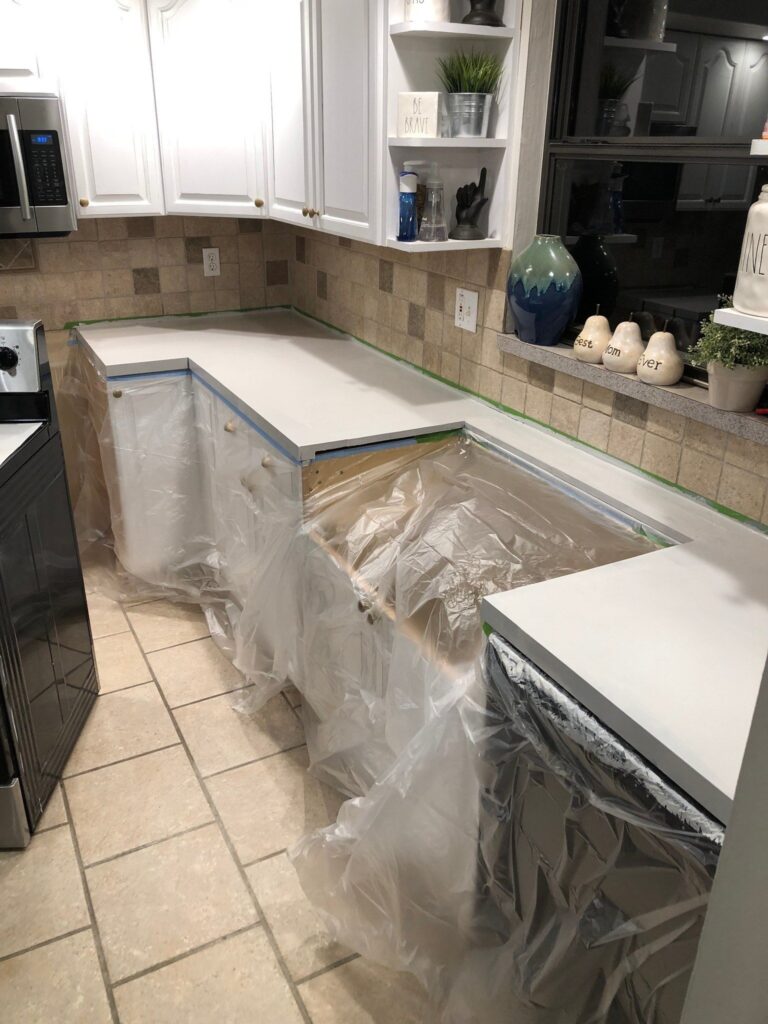
Base Coat of Paint Applied
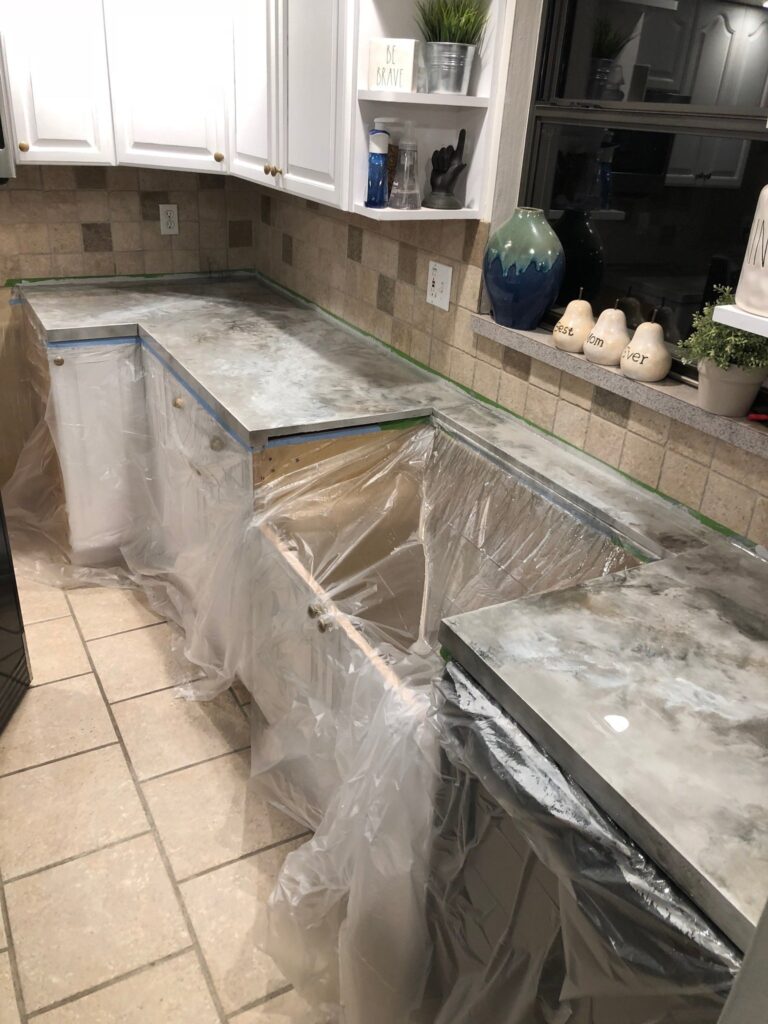
Epoxy Applied
If you have any questions or if there is anything I can help you with don’t hesitate to contact me or comment below!


![]()
Use code frickinfab10
to save 10%


