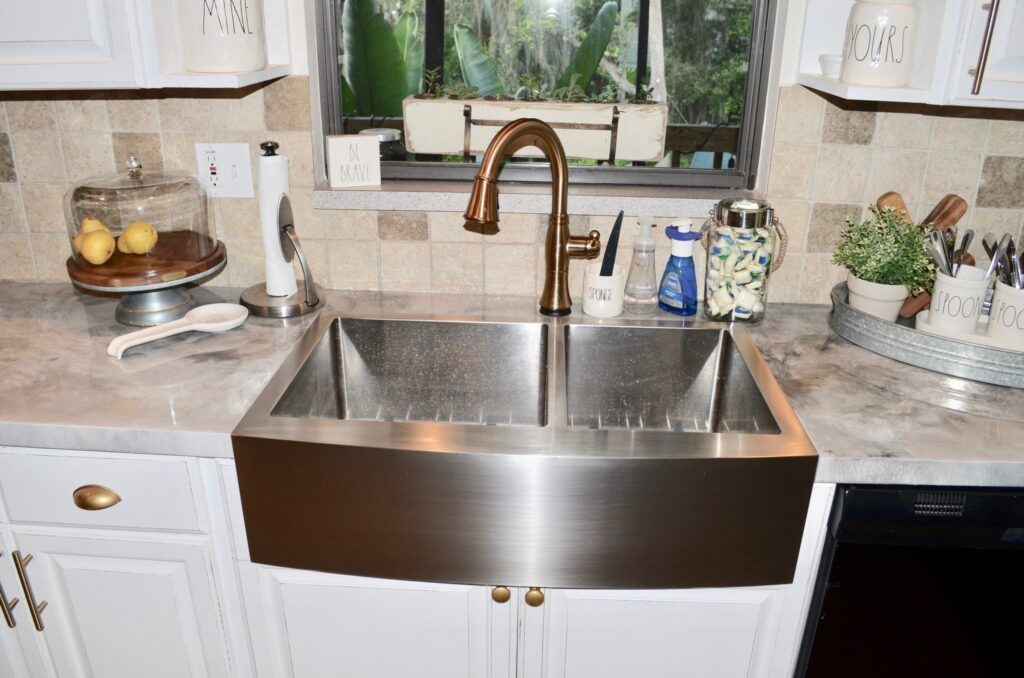
My kitchen has been a never-ending project and I have really loved watching it transform. I have always wanted a farm sink. I love the classy style and sophistication of a kitchen with a farm sink. But here I am buying a house with a standard above counter mounted sink.
This project seemed overwhelming and went on the “hire someone to do it” list. But then all the quotes I got from the “Professionals” were insanely expensive. I even had one guy come in and tell me he would have to rip up my whole kitchen and run all new pipes…eye roll…you have got to be kidding me!
So here I go…back to the interwebs to figure out how to do this…as you may have noticed and will learn, I am not a patient person. When I decide to do something, come hell or high water, it is going to get done!
So I took a picture of the plumbing under the sink because I would forget how to put it back if I didn’t.
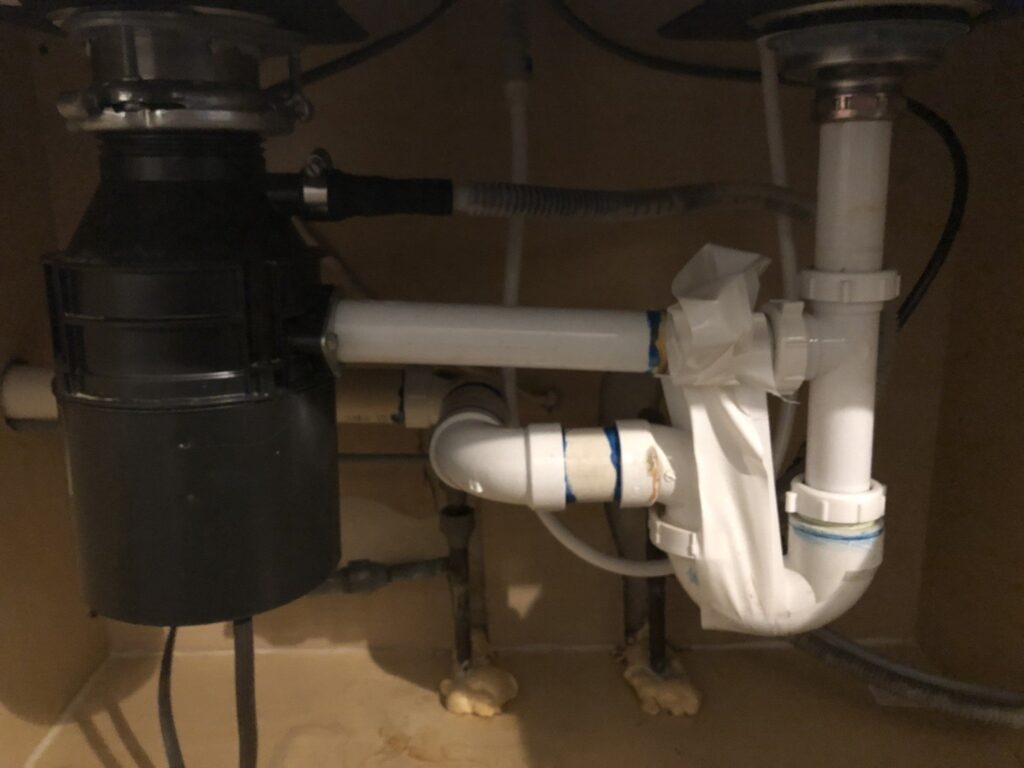
I called my handy friend Mikel and said let’s do this! First, we turned off the water to the kitchen faucet, then disconnected the garbage disposal and the clips that held the sink in place and tada! Out came the sink and everything with it! It was almost too easy…
Once the old sink was removed we had to cut the countertops using a jigsaw to fit the new apron front sink. I have Formica countertops so this was fairly easy. For those of you with granite or stone countertops, you will need to use a circular saw with a diamond blade and drizzle water on the countertop and blade to keep it cool while you are cutting.
The most important thing about installing a farm sink is the supports. We used 2×4’s to create supports for the sink to sit on.
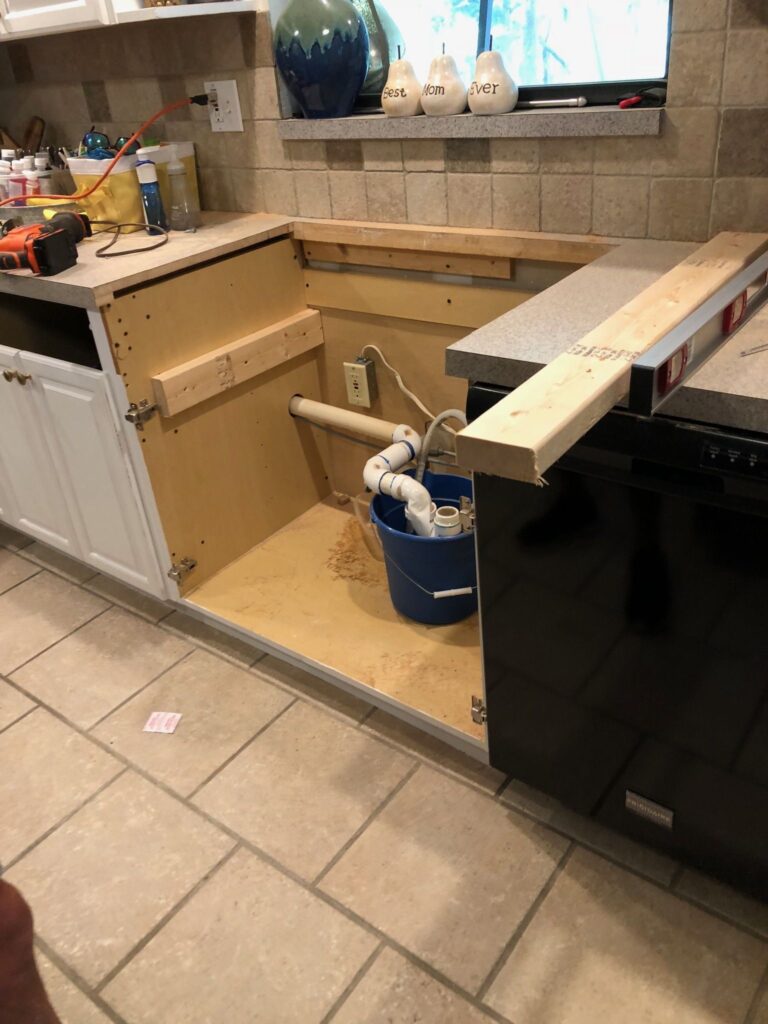
Next, we used shims to make sure the sink sat level. Once you have the sink where you want it, use silicone adhesive to secure it to the supports.
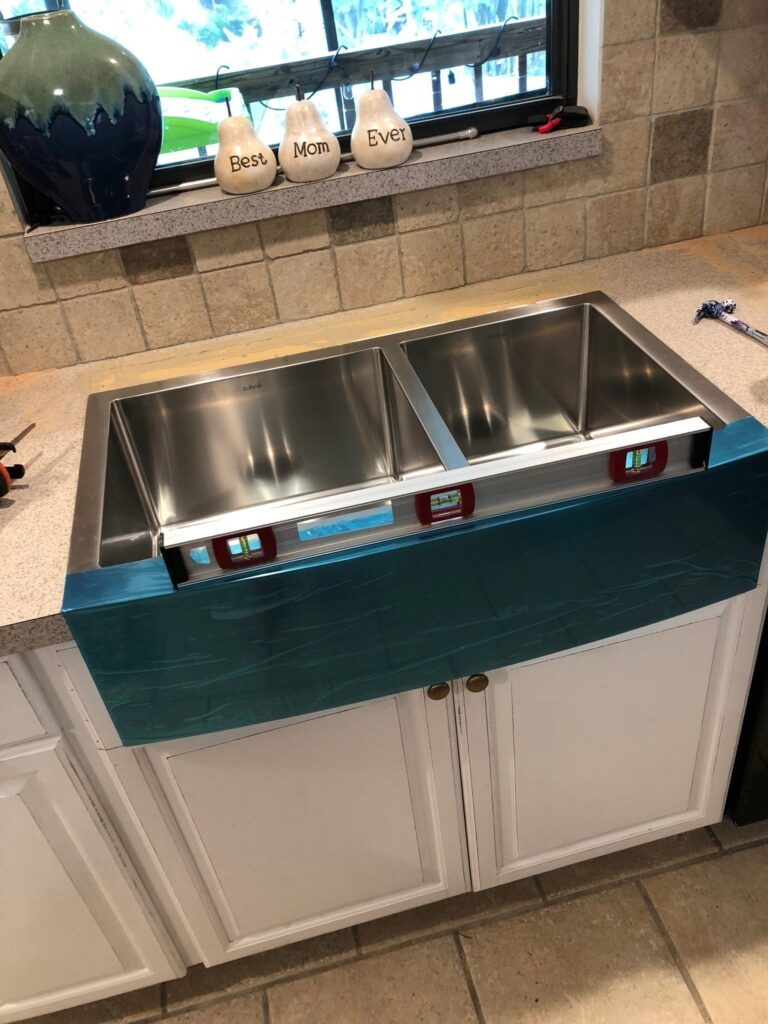
One thing I love about my farm sink is that it can be mounted even with the counters, above the counters, or under the counters. I chose to mount it even with the counters in my kitchen.
I used a hole saw drill attachment to drill the hole for my new Antique Brass Delta Cassidy One Touch faucet. And then followed the faucet instructions to install it.
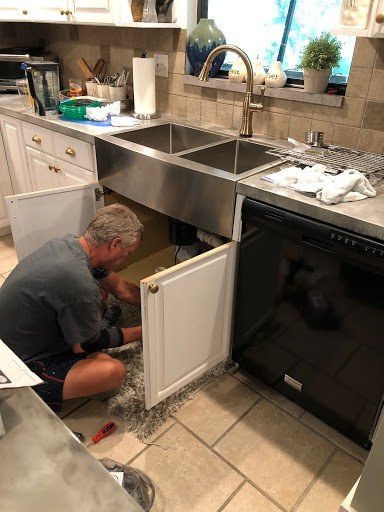
While taking the sink apart was fairly easy, putting it back together was way over our heads. So we did end up hiring a plumber to reattach the drain and garbage disposal.
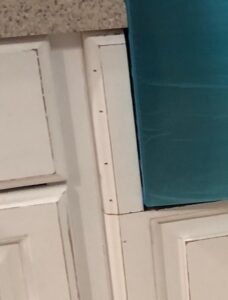
My cabinet was not designed to hold an apron front sink so I had to adjust the size of the cabinet doors to accommodate the sink. It was as simple as running my cabinet doors through the table saw to get the desired dimensions. I didn’t have to change the pulls or the cabinet hinges.
I used the scraps from my cabinet doors to cut the molding that framed in the sink and used my nail gun to attach these trim pieces to give it a clean finish. Once everything was secured, I filled in the nail holes with wood filler and painted them with Mudpaint’s Simply White (remember to use code frickinfab10 to save 10% on your order)!
I also ran a bead of silicone along the edge of the sink to secure it to the countertop and prevent water from leaking down into the cabinet.
And just like that my farm sink is ready to rock and roll!
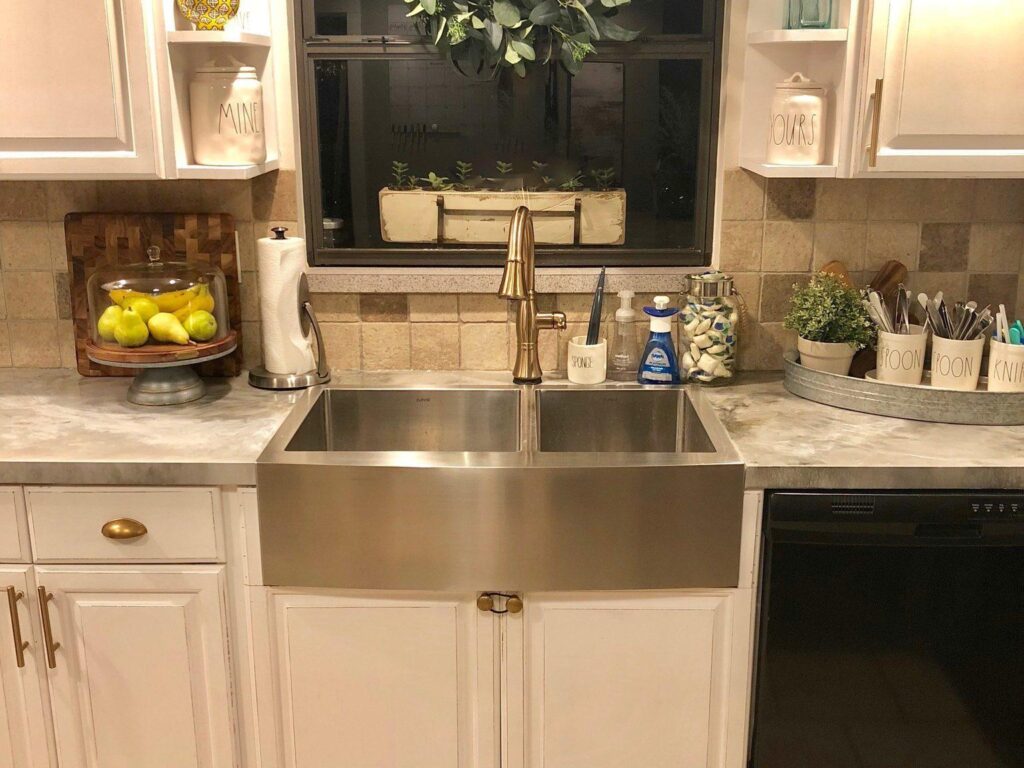
If you are ready to install your farm sink and have any questions that I can help you with, feel free to contact me or comment below!


